On Sunday, my son and I traveled about an hour and a half to Amherst, MA to the
Eric Carle Museum of Picture Book Art. We went to meet Rosemary Wells, author and illustrator of tons of kids books (such as Max and Ruby! My son's favorite!!) It was a really great day, and I am a HUGE fan of this museum!!
Rosemary Wells was there to give a talk and celebrate 30 years of Max and Ruby (amazing!)... We headed into the spacious and colorful art studio where everyone was encouraged to make a party hat for the "bunny party"! (My son was a little disappointed there was no cake... but there were decorations and balloons! haha)
It is incredibly fun to sit down with a bunch of brightly colored scrap paper and ribbons, and all sorts of other odds and ends, and make whatever you want out of it! "Grown-ups" don't get to do this often enough!!!
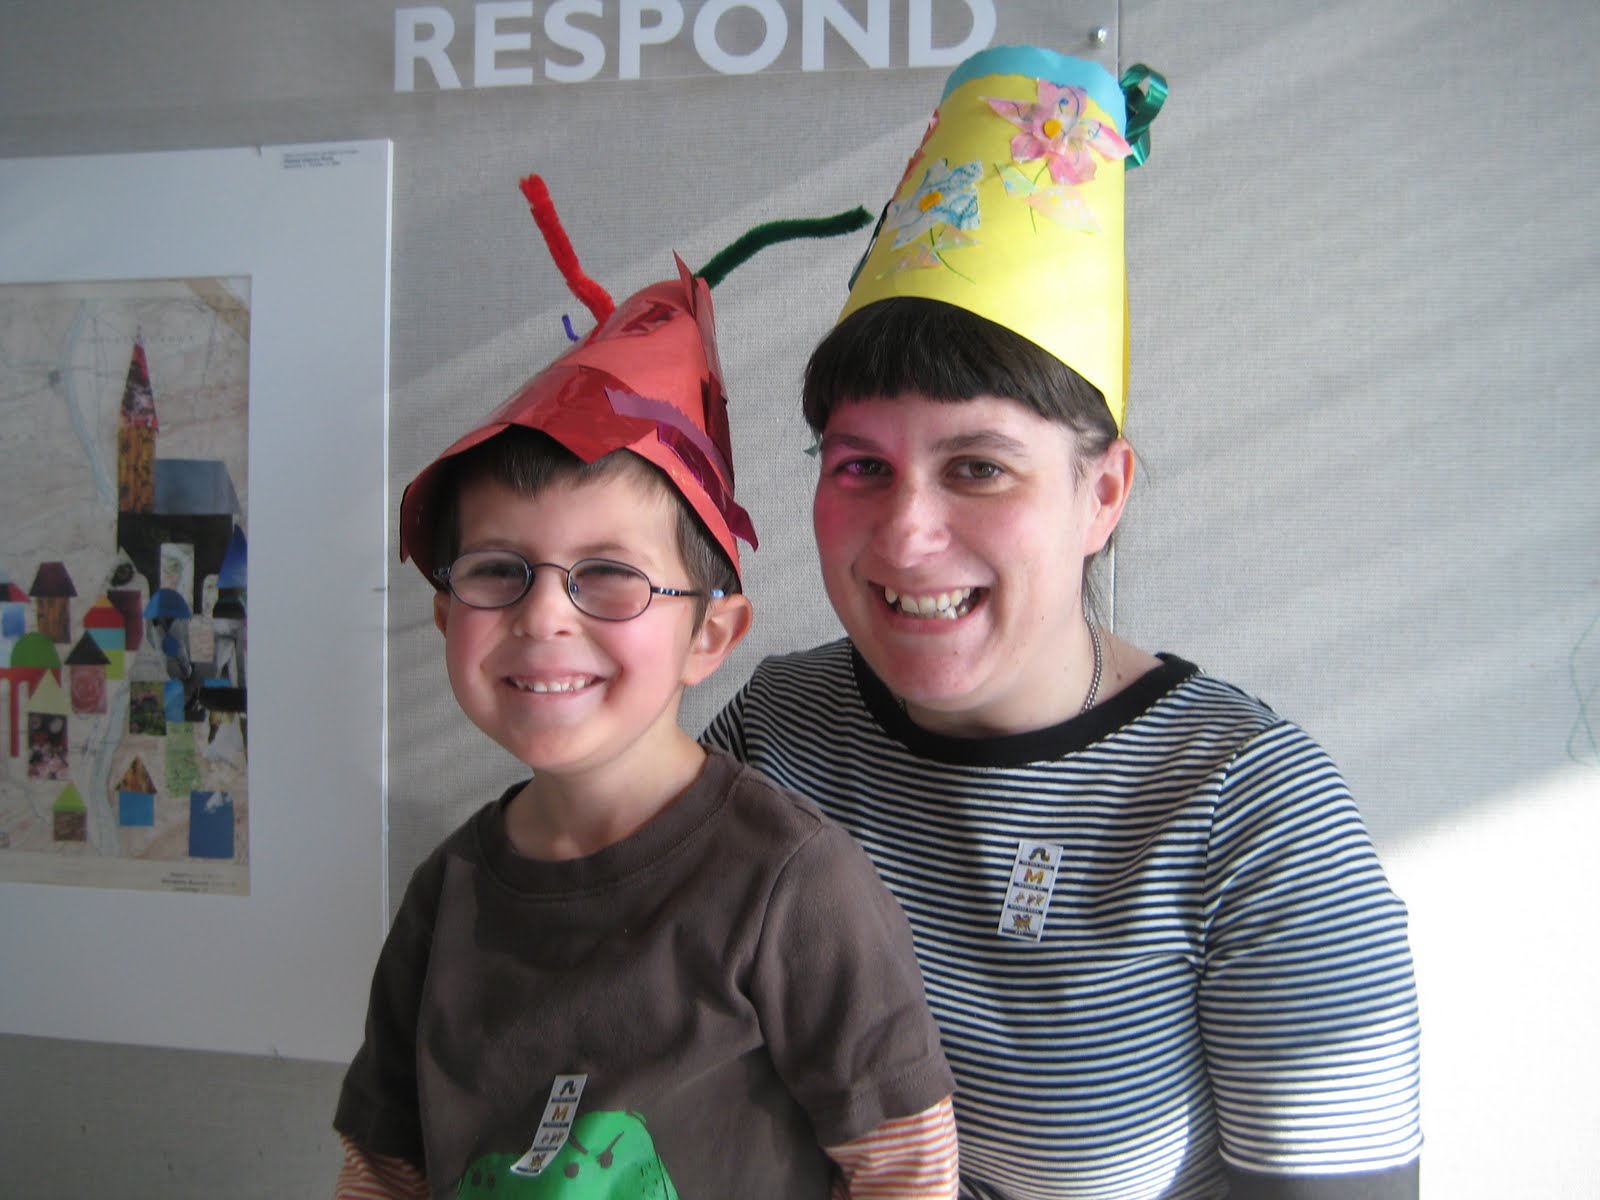
So, we made our hats...


Then we modeled them:

Next it was over to the auditorium where we sat and listened to Mrs. Wells give a talk about her artistic process. She showed some slides of her studio and artwork... and even her favorite paints and supplies. This part was especially enjoyable for me, because she also works alot with watercolors, as I do, and it was fun to hear her naming her favorite colors to use (I believe "scarlet lake" was one of her favorites). :)

My son sat so quietly and listened to her talking. He was so interested, even in the slides of the paints and brushes! (yay)
She read one of her stories
(Yoko Writes Her Name) and described her thought process for writing the book and illustrating as she went along. Her dog Sophie was sleeping at her feet the entire time, obviously used to traveling around and giving talks in front of large groups of people. :) Mrs. Wells described how Sophie is the inspiration for her
McDuff books.

We didn't actually have a
Max and Ruby book for her to sign, because we usually get them from the library! So, we went to the absolutely awesome museum store, which is just FILLED with any children's book you can think of, as well as tons of other goodies and toys.
(They also have an online store!) We ended up buying the book she read at the presentation... Then it was off to wait in the big line!
Sporting our party hats, of course:


She signed the book with my son's name in it...

Then she chatted with him for a moment. He made her laugh and it was very cute. :)

We will definetly be back to the museum for the upcoming celebration and exhibit of original Golden Books art!! (I took a sneak peek in the closed off gallery - through a window - and it looks amazing! I can't wait!)
Read about it HERE!
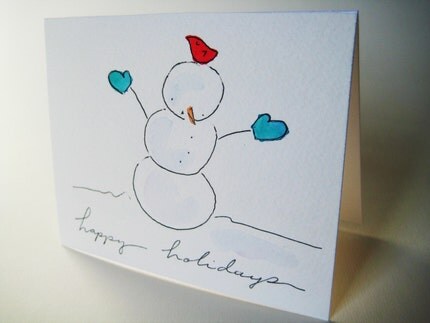
 To make this I used leftover cardstock from my paper chain project (so it would match!), white cardstock, glitter, 3-D dots, glue, ribbon, a sharpie, scallop edge scissors, and some sheets of scrapbooking paper (that I painstakingly took FOREVER picking out at the craft store, only to cut it up into little letters where you can't see the pattern anyway... HAHA yup! Go me!)
I traced circles of two different sizes, and used the shaped scissors to cut the larger circle. I covered the white paper with glue and glitter (in my "I need instant results" manner, I used a quick dry glue... Next time I would just suck it up and wait for the regular glue to dry. I wasn't quick enough with the glittering, so the paper is only half as sparkly as I hoped!!)
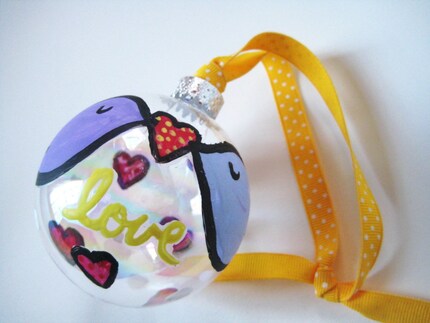
To make this I used leftover cardstock from my paper chain project (so it would match!), white cardstock, glitter, 3-D dots, glue, ribbon, a sharpie, scallop edge scissors, and some sheets of scrapbooking paper (that I painstakingly took FOREVER picking out at the craft store, only to cut it up into little letters where you can't see the pattern anyway... HAHA yup! Go me!)
I traced circles of two different sizes, and used the shaped scissors to cut the larger circle. I covered the white paper with glue and glitter (in my "I need instant results" manner, I used a quick dry glue... Next time I would just suck it up and wait for the regular glue to dry. I wasn't quick enough with the glittering, so the paper is only half as sparkly as I hoped!!)
 The letters I drew freehand, cut them out, and traced them with a black sharpie. The "spacer" in between the words is a tree covered with glitter. I used 3-D glue dots to make the letters and the white circles pop a bit.
My living room is kind of dark, so it was tough to get a good photo.. It looks so much better in person! Make one, and you'll see ;)
The letters I drew freehand, cut them out, and traced them with a black sharpie. The "spacer" in between the words is a tree covered with glitter. I used 3-D glue dots to make the letters and the white circles pop a bit.
My living room is kind of dark, so it was tough to get a good photo.. It looks so much better in person! Make one, and you'll see ;)

 Stay Crafty! :)